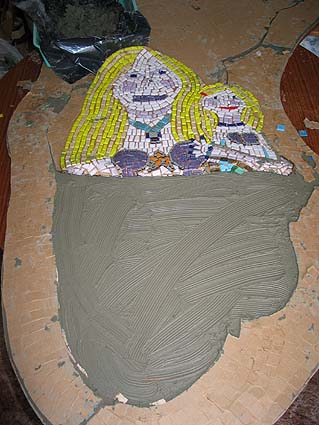
After completing the sections of the mermaid, the paper sheets were ready to be stuck down. They are remarkably strong and tolerate handling well. The wooden board was cut to the shape of the outline with a jigsaw, and the surface scored with a Stanley knife for better grip.
I used an adhesive with a latex additive - this helps the adhesive give slightly if there is movement caused by frost and stress. As a result, the tiles are more secure. It mixes up with water to a paste to be spread on the wood.
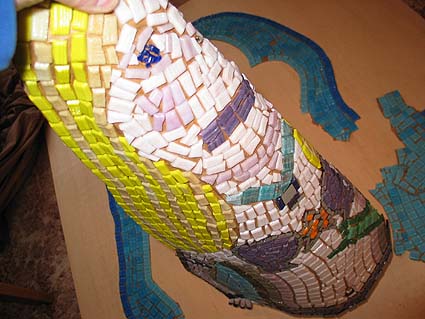
In this picture, the final section is about to be folded down and pressed into the adhesive. Care has to be taken to fit the sections together so that the joins don't spoil the finished piece. At the design stage I tried to divide the sections along lines that would not attract the eye if they didn't match exactly. For example, a slightly wider grouting line around the mermaid's hair would not stand out - it could even help to define the figure.
It's helpful to use a wooden board to press down the sheets into the adhesive to try and get the most even surface.

Before the adhesive set, I used a Stanley knife to cut out a number of tiles at intervals from the blue border. These would be where the board would be drilled to attach it to the wall.
Now the adhesive had to be left to set, before soaking off the paper and grouting the mosaic.