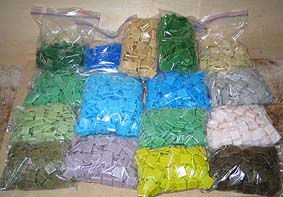
Having calculated the amounts needed, I ordered my tiles. For this project I used vitreous glass tiles - they are a good material for outdoor mosiacs. If you buy them in quantities, you may well get them in sheets like these.
I also ordered a few tiles in certain colours that would only be needed in small quantities, and a random selection for a little more variety.
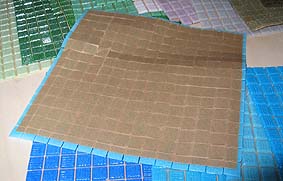
Typically sheets of tiles are of 15 x 15 tiles (225) fixed to the paper with a water soluble glue (see left). If you wanted to cover large areas with one colour (or specially made up mixed sheets) this is ideal - you can press the sheets into an adhesive and soak off the paper. However, if you are going to arrange and cut the tiles you will need to separate them from the sheets first.
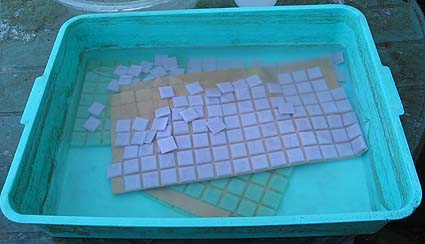
The tiles come away from the paper very easily if soaked in water, as in this tray. It may only take 10 minutes or so before they are loose. Even so, if you have a lot of tile sheets (and a limited number of trays) this time can add up. You can speed things up by soaking more than one sheet at a time. However, don't put similar colours, such as two shades of light blue, in together. You will lose all that time again while you separate out two kinds of tile!
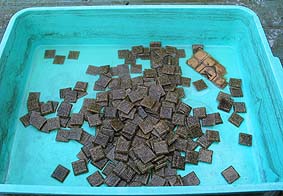
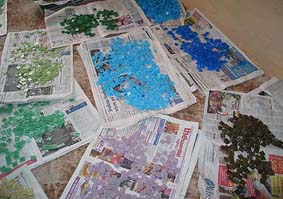
When the tiles have soaked away, extract the paper and rinse off any lingering glue. Dry the tiles, for example by spreading them out on newspaper. They can then be stored in bags or other containers ready for use.
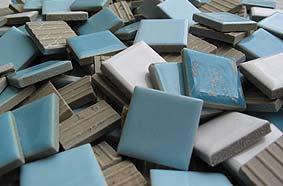
The sea and waves at the foot of the mosaic were done with highly durable ceramic swimming pool tiles. These ones are slightly larger than the standard 2 x 2 centimetre glass tiles and have a glazed finish. However, they are not so convenient for working in the reverse method - when they are face down you can't see the colours.
At this stage I did a trial layout
of the design.


