After the workshop with the school pupils, the five separate sections could be taken away to be completed. (When the wallpaper paste had dried, the sheets with the mosaic tiles stuck to them are remarkably robust.)
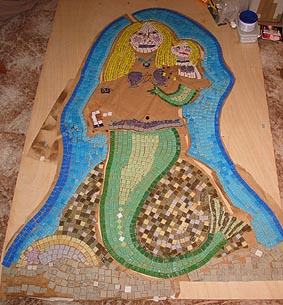
The mermaid's arms and torso had not yet really been worked on. The sea at the foot of the piece was always going to be challenging,
not least because the colour of the swimming pool tiles used couldn't be seen when they were face down on the paper. After giving it some thought, I decided to re-do the sea, laying the tiles face up directly on to the backing board once the sheets had been stuck down.
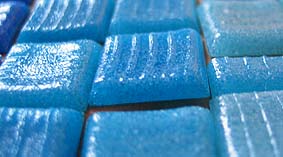
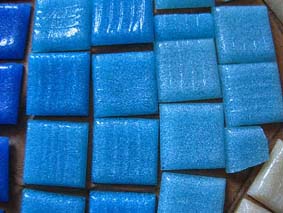
One particular difficulty was where the glass tiles were very close together. When the wallpaper paste is spread on the paper, the paper tends to stretch a bit. As it dries, it shrinks again, drawing the tiles in. This can mean that the tiles push against each other and rise up (see the picture below). This would give an uneven surface when the sheets were stuck to the board. Where this had happened, I soaked tiles off the paper and rearranged them or trimmed them with tile nippers.
Sometimes the paper would protest about this and break up. This gave me areas to fill in later.
Now the sheets were ready to be turned over and stuck face down to the backing board. Before doing that I had to cut out the shape of the mermaid from the board using a jigsaw. (I had already drawn the outline on the board, but to check the precise shape I could now turn the sheets over and fit them together.)
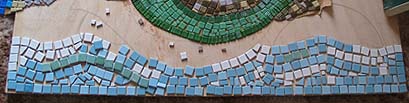
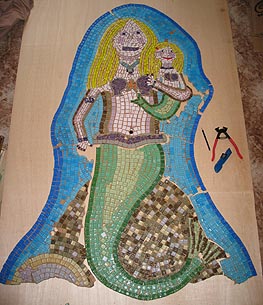
Below: A practice layout of the tiles for the sea.