Mosaics and mosaic making information from The
joy of shards Mosaics Resource
Grouting the mosaic mermaid
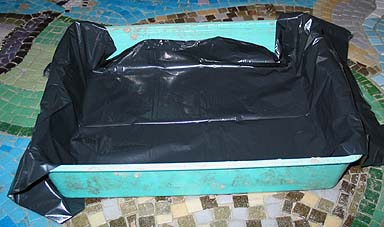
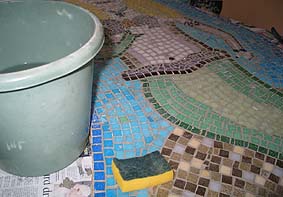
If you are mixing medium-sized quantities of grout, a tray such as this is useful. Lining it with a sheet of plastic or a refuse sack means that any leftover grout can be easily lifted out and disposed of (for ideas for using leftover grout, see the project list).
I used a grey cement-based grout mixed up from dry powder. Grout which contains cement is caustic, so the usual rules apply - take great care not to inhale any dust or get any grout on your skin, and follow all manufacturer's instructions.
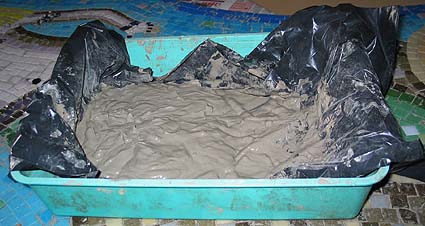
To mix grout with water, make a mound of the dry grout with a hollow in the middle. Add a little water at a time and mix in the water evenly before adding the next helping. You don't want to have some of the grout very wet while other parts are still dry. If you're not sure how much water to add, it may take a while to get it to the right consistency - smooth and workable, but not runny. A good way of mixing it is is with your hands (wearing sturdy rubber gloves). The whole process is rather like making pastry.
Be patient, though. Once the mixture is close to the right consistency it will only take a small amount of extra water to make it too sloppy. If this happens you'll need to mix in a bit more dry grout.
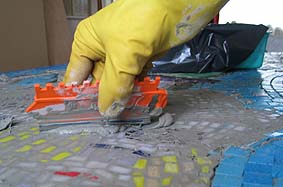
Scoop a good helping of grout on to the mosaic. The main priority at this stage is to ensure that the grout is pressed down to fill all the gaps around (and under the edges of) the tiles.
A useful tool for grouting on this scale is a squeegee - a plastic grout spreader with a rubber blade on one edge. The rubber blade helps force the grout into all the spaces. Make sure you press downwards rather than just spreading the grout around. This helps prevent any pockets of air getting trapped at the base of the tiles.
You can then scrape off most of the grout from the surface.
You don't have to worry about getting the tiles clean at this stage - concentrate on getting the grout applied while the mixture is fresh.
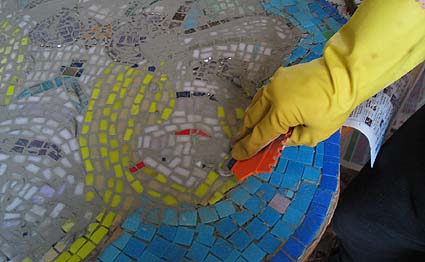
In the picture I'm ready to add more grout from the tray. As you move on to new areas of the mosaic you want to make sure that you have a generous amount of grout on the surface, so that it can get to all the spaces.
Notice that there's still quite a bit of grout on the areas I've worked over. Once you've grouted the whole mosaic, you can start to go back and clean up the surface. Unless there are areas where the remaining grout is thick, there's no rush to do this.

As the grout begins to set and dry it becomes easier to scrape off. This may take from a few minutes to half an hour. Starting too early can just mean you end up spreading wet grout from the gaps over the surface of the tiles. On the other hand, monitor it, so that you don't let the grout set hard on the tiles! The grout in the picture here is starting to set and is ready to be scraped off. This can be done with a clean squeegee, or for more detailed cleaning, an old toothbrush or a cloth. You may need to go over the mosaic several times, allowing the thin film of remaining grout to dry in between.
The cement in the grout gains strength over a long period of time. The setting process is a chemical reaction which requires water, so it's important that the grout doesn't dry out too quickly.
For this reason it's best not to work in very warm conditions if you can avoid it, or to use heat to dry the mosaic. To slow down the drying process you can cover your mosaic in plastic sheeting.
Finally - in this case, the following day - the last haze of dry grout can be wiped off with a damp sponge. The mosaic can then be rubbed over with a soft cloth. This piece was then ready for fixing to the wall.